
Facebook has recently introduced an option to augmented reality (AR) ads through FB mobile feed. AR ad lets people interact with our products and brands through Facebook. To publish an augmented reality ad, we need to create an AR filter or effect using Spark AR. Spark AR Studio is a software provided by Facebook to develop augmented reality filters and effects for Instagram and Facebook app camera. You can download it free from the official website of SparkAR.
After installation of Spark AR Studio, you need to log in with Facebook credentials to enter the development environment.
Since the entire world is under the threat of COVID-19, let's see how to set-up an awareness campaign about the importance of using face masks.
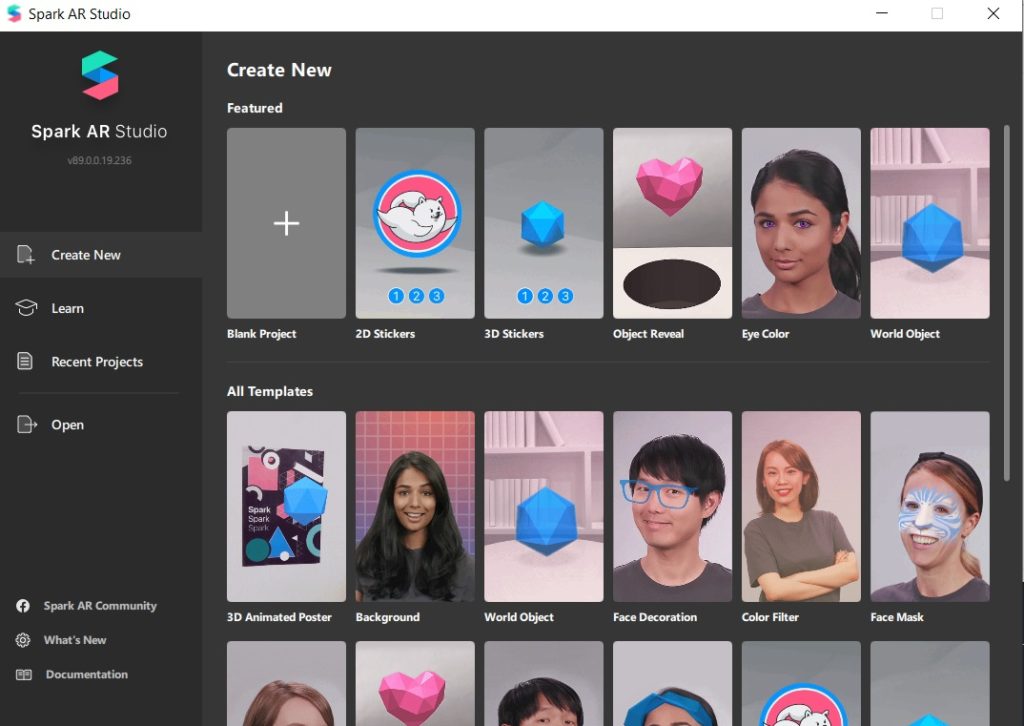
Select Create New from the panel of the left side of the window and click on the Blank Project. Then development will open up.
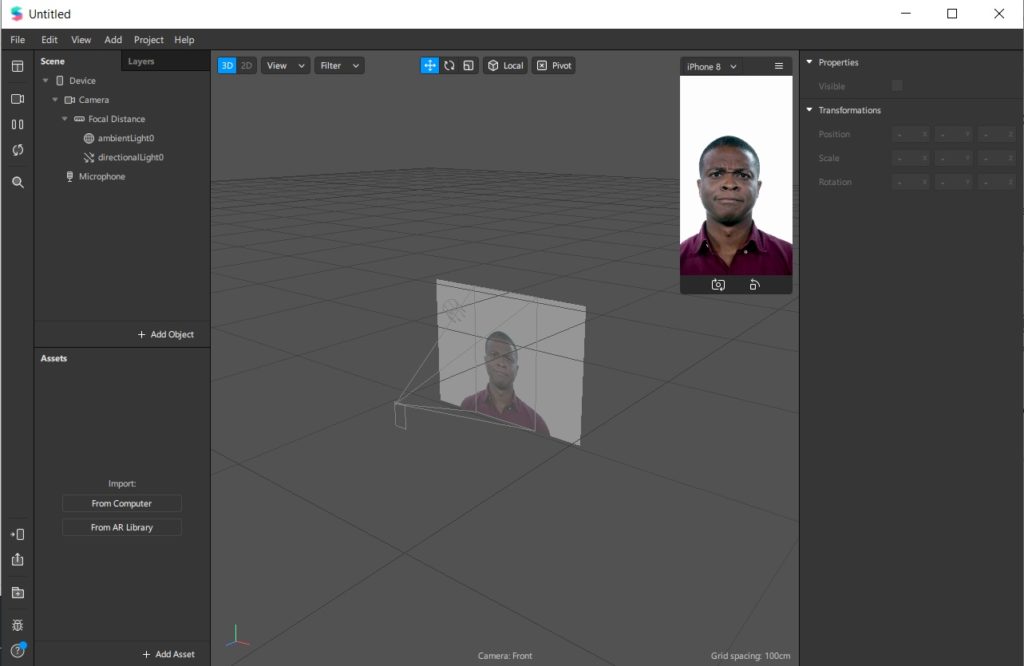
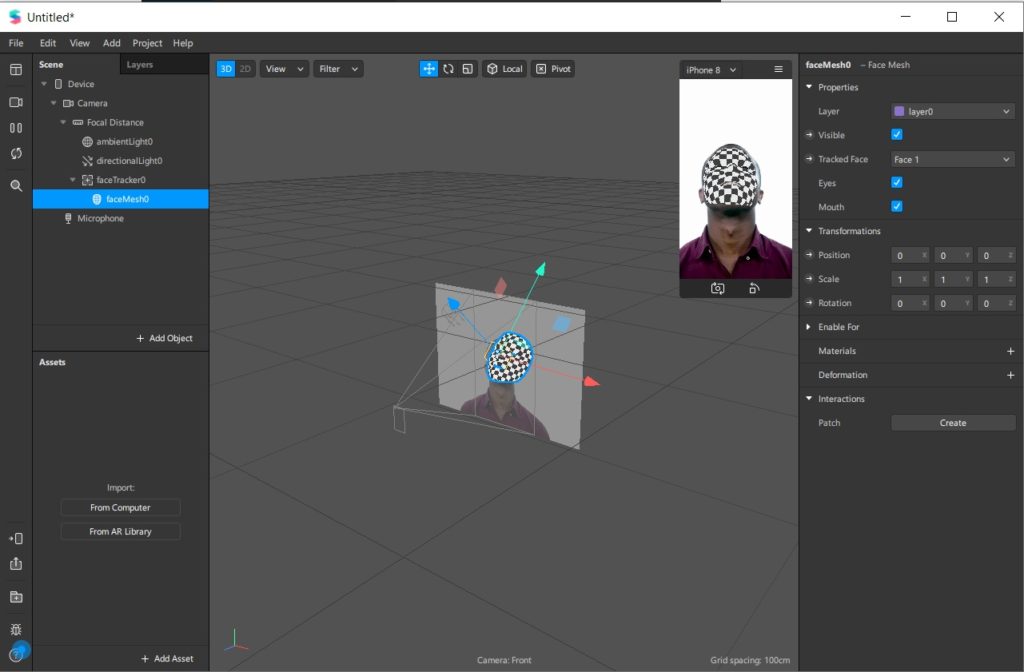
You can see a placeholder object in the central panel. That central panel is called the Viewport where you build the filter.
You can see a small window at corner showing the screen of iPhone 8. This is the Simulator where you can preview your work. Using the drop down you can change the Simulator to another device.

You can change the face showing in the simulator by clicking the Video icon on the left side panel. From options either you can choose from different types of videos given like face of men of women with different skin tones or you can turn on the webcam of your laptop by pressing Camera option and you can test effects on the live feed from the webcam.
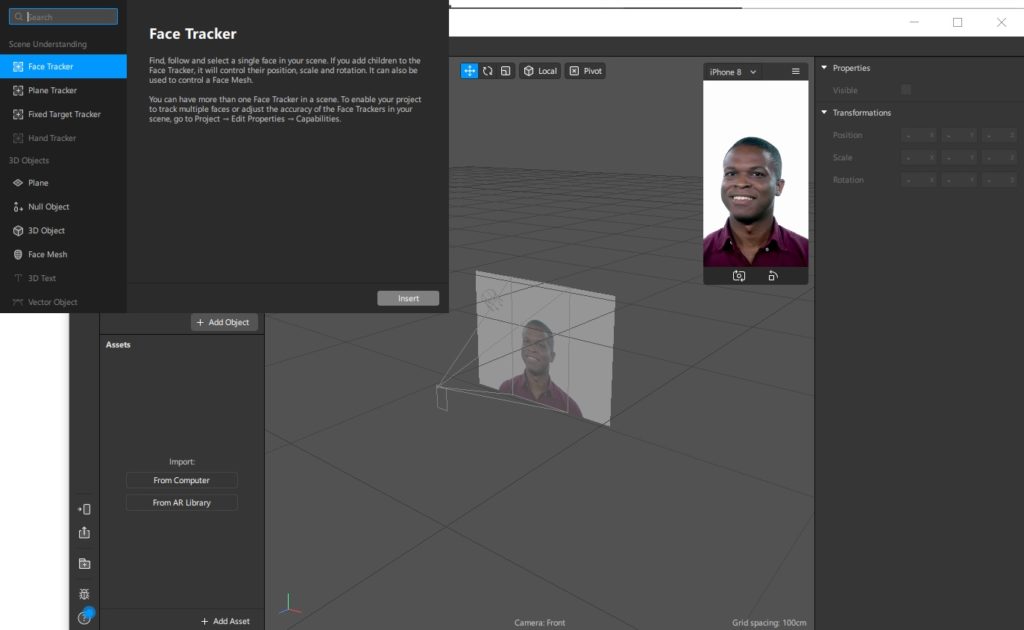
Click Add Object on the scene window and the select Face Tracker from the list of objects. Face Tracker is used for tracking the movement of the face. After that again click Add Object and from the window, choose Face Mesh. Make face mesh as the child of Face Tracker.
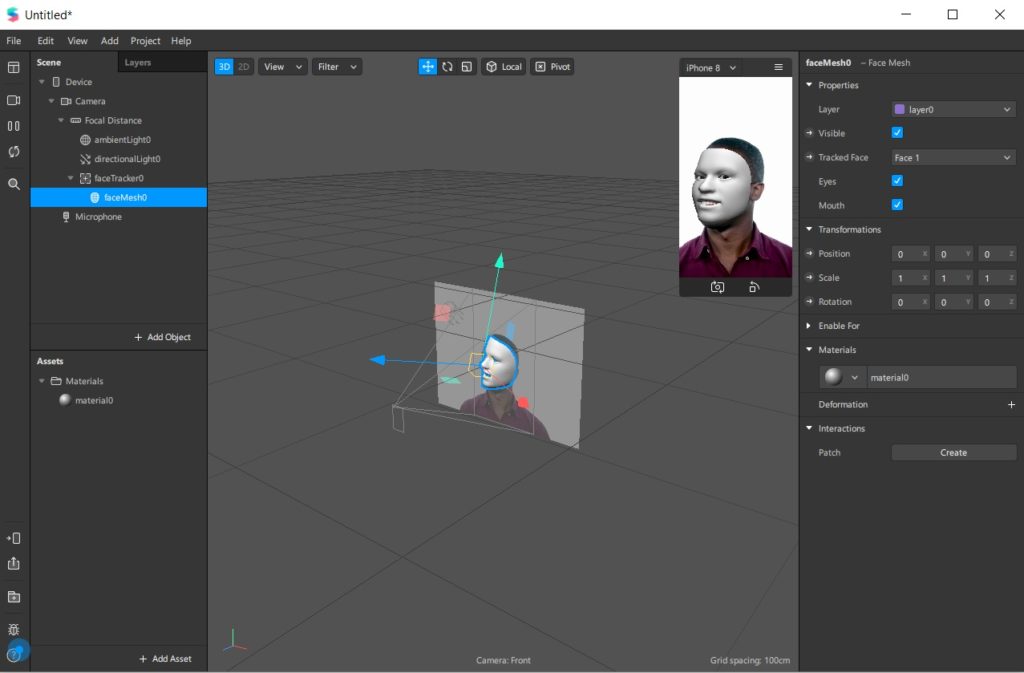
Face Mesh is a 3D model of a face. Select Face Mesh in the Scene panel, click + next to Materials in the Inspector. Then you can see the new material in the simulator.
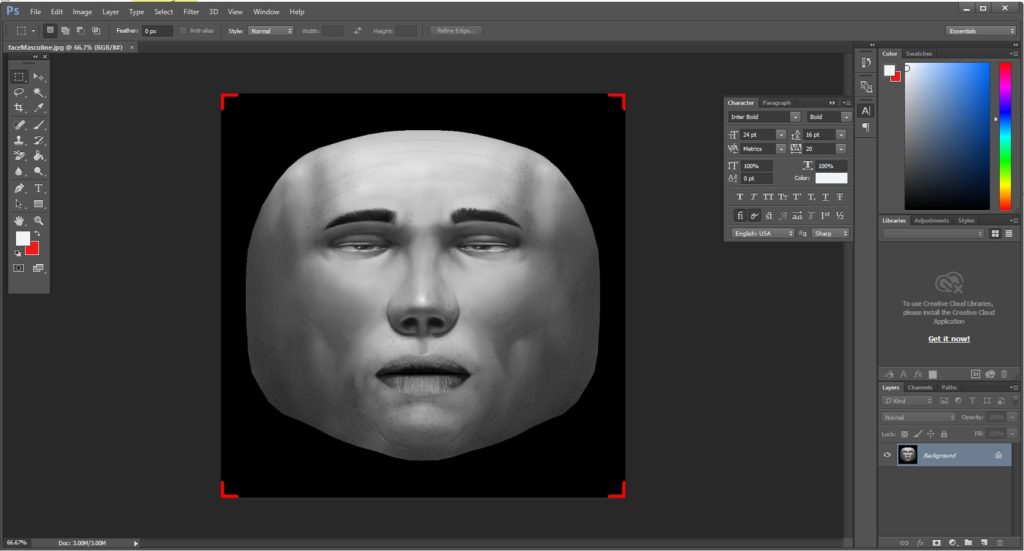
Now you need to add texture to the material. It is using this texture, you can create custom masks. For designing custom texture, a reference texture is required. Go to Download Face Assets in the Help menu. Then a website will get opened in your browser. From the website download Face Reference Assets. Unzip the file and open the Textures folder and using photoshop open faceMasculine.jpg
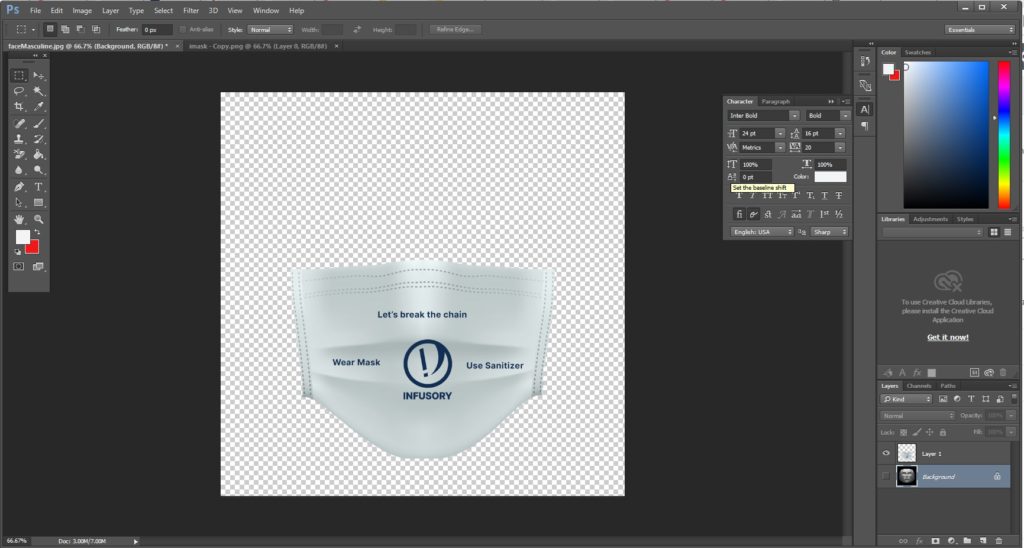
Place the required filter or images on Reference Texture and hide the layer of Reference Texture and save the texture in PNG format and drag the texture to Spark AR Studio.
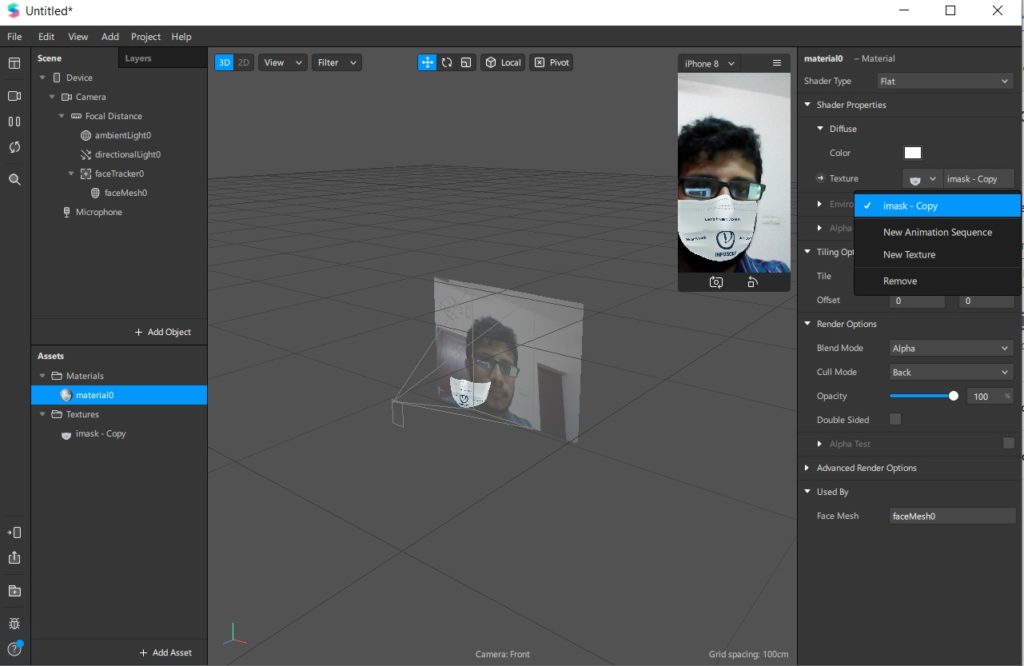
Click on Material and select the texture created in the Texture option of the Inspector window. We used Shader Type as Flat and disabled Mouth tracking in Face Mesh since we used a shader of the mask. Choose these options according to your requirement.
Your filter is ready !!!
You can also test your filter using the phone by clicking on the Test on device option on the left sidebar and can send links to Facebook and Instagram. You can share the link for Instagram or Facebook thus obtained. But maximum view count is restricted to 200 per day.
There are many features in Spark AR like you can give interactions such as tap, swipe, etc, use gestures to interact with filters, cool animations to 3D filter. We will be uploading a detailed video about those features soon on our Youtube channel.
After creating the effect, click on the Upload button the left sidebar to upload your filter to Spark AR Hub where it gets published after the review.
The review process may take up to 10 business days.
